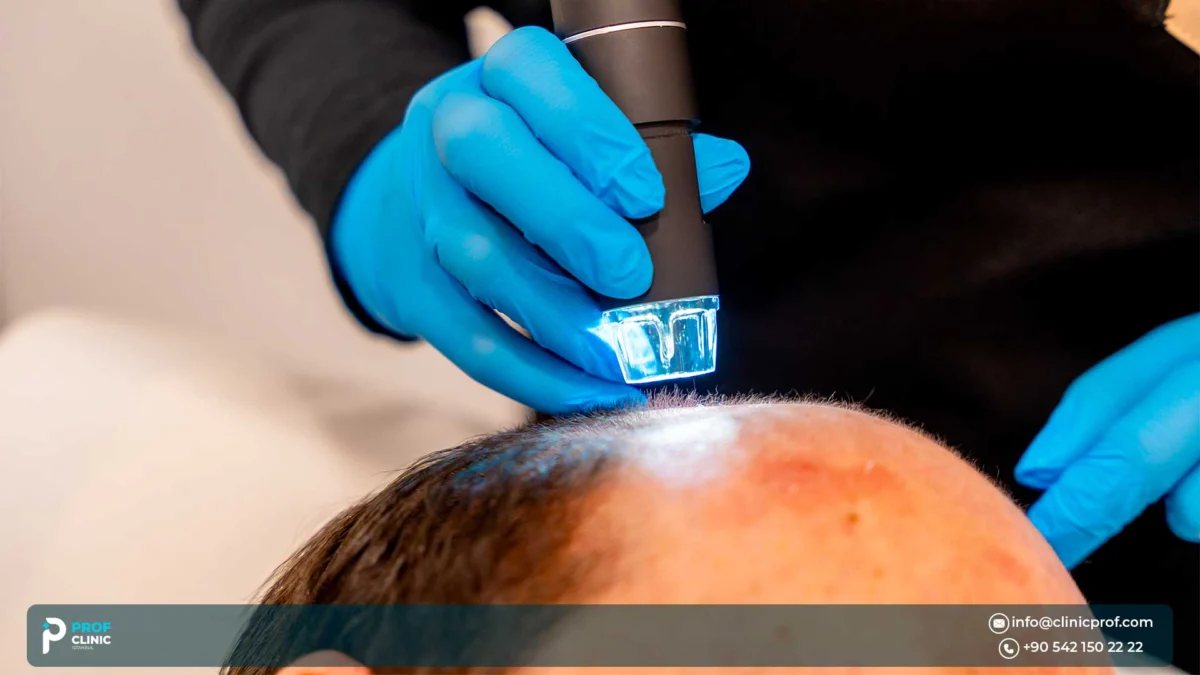
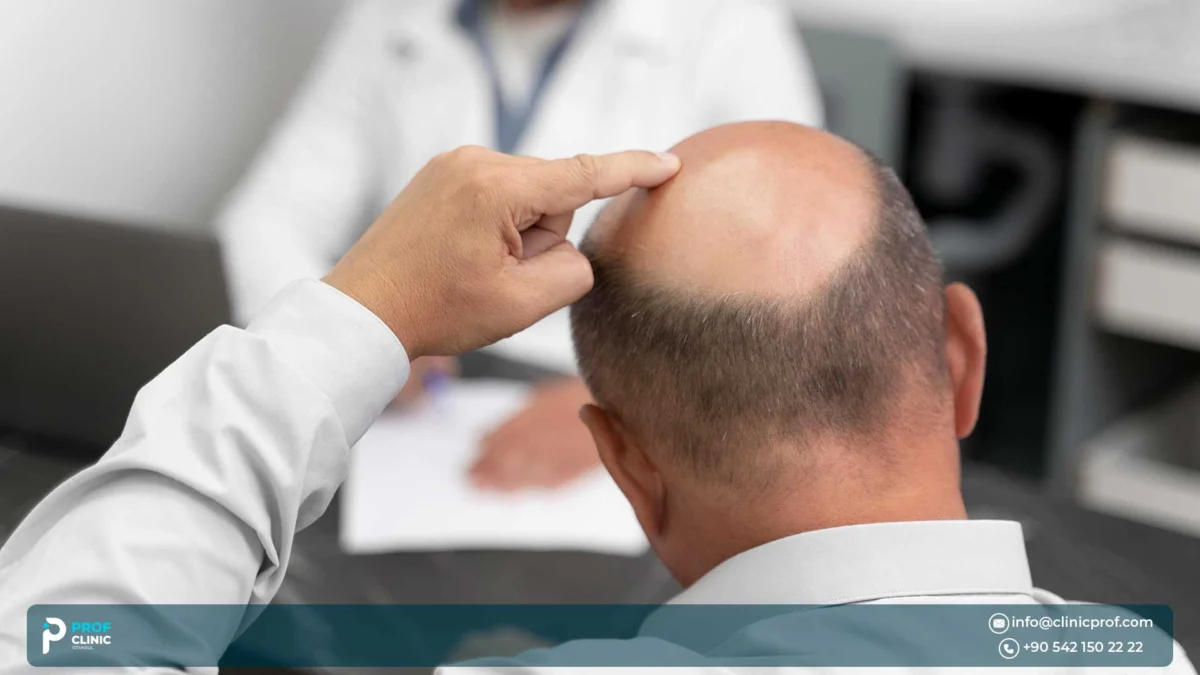
Can you trust a hair transplant before and after photo? Only up to a point. A photo pair shows one scalp under one set of conditions, so it is worth trusting when both pictures were taken the same way, the “after” is at least a year old, and the starting point looks like yours.
In this guide by Prof Clinic, you’ll learn what a photo pair can and cannot prove, a four-step method for reading it, the red flags that should make you pause, and how to take your own baseline photos before you decide. By the end, you’ll know what to ask for with every photo, whether it comes from a clinic in Turkey or anywhere else.
Medical note: this guide is general information. What a realistic result looks like for you can only be decided after a medical assessment of your scalp, donor area and general health.
What a Hair Transplant Before and After Photo Can and Cannot Prove
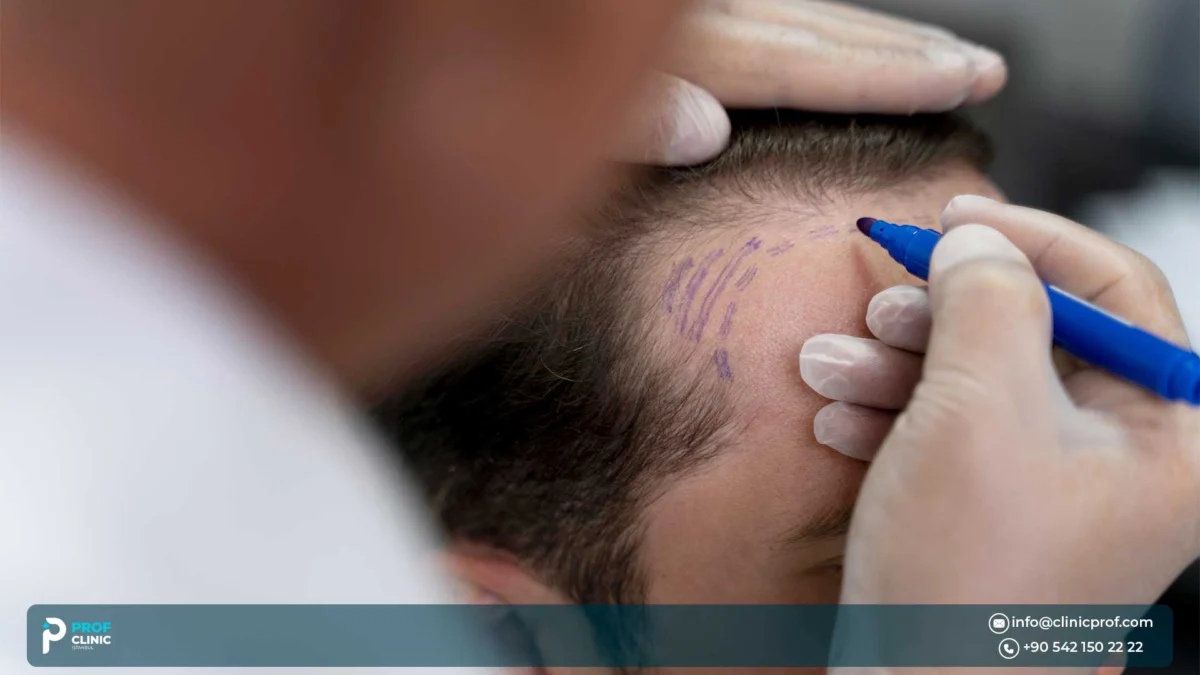
A before-and-after pair proves what one person’s scalp looked like at two moments, and nothing more. The American Society of Plastic Surgeons (ASPS) notes in its guide to cosmetic surgery photos that lighting, camera angle and pose can make results look better without any real change, and that surgeons naturally show their best cases. Hair transplant photos are no different: the pair you see is a selection, not an average.
Used well, photos are still the best evidence you can see before surgery. The skill is knowing which questions a photo can answer.
- What it can show: the shape of the hairline, whether the front edge looks soft or tufted, the hair direction at the temples, coverage from one angle, and how the donor area looks once healed.
- What it cannot show: how many hairs there are per square centimetre, whether the person also used medication, how the result looks in ten years, or whether your hair will behave the same way.
The American Academy of Dermatology (AAD) adds two limits worth remembering. A full head of hair may be unrealistic, while a fuller head of hair can be the goal, and hair loss and thinning can continue even after a transplant. A strong photo shows that a result is possible. It does not promise yours.
Step 1: Match the Starting Point to Yours
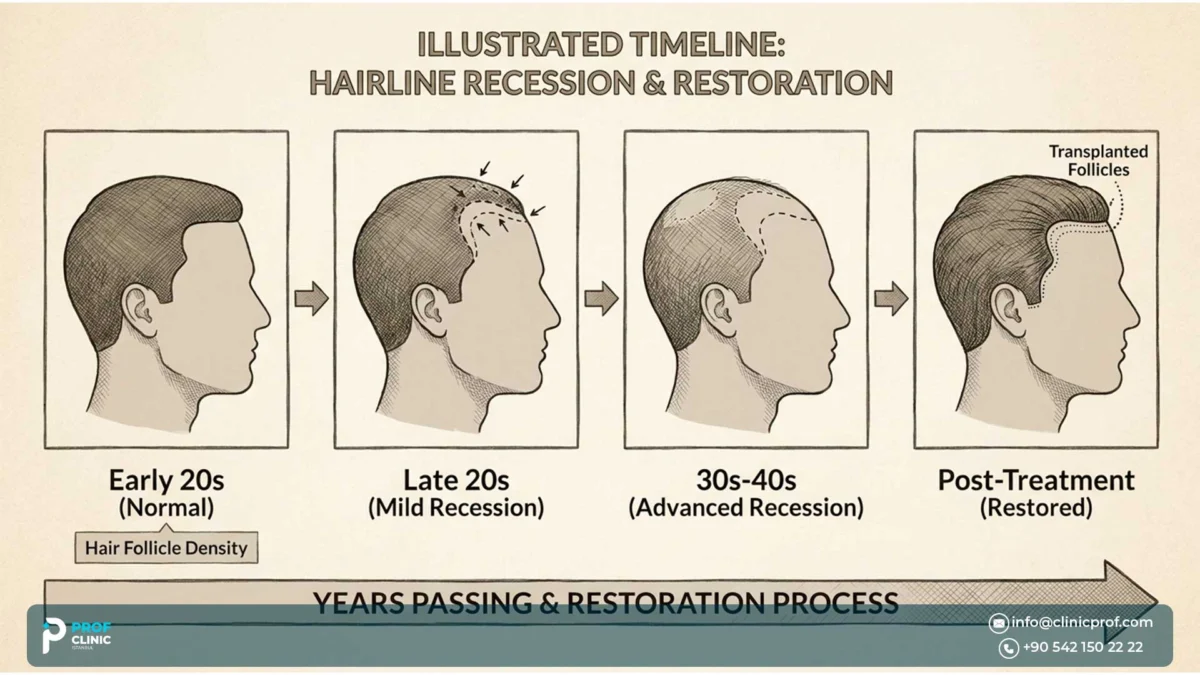
A before-and-after pair only tells you something if the “before” looks like you. The standard way to describe a starting point in men is the Norwood scale. A review in the Journal of Cutaneous and Aesthetic Surgery explains that Norwood revised Hamilton’s earlier system in 1975, and that it describes seven main types: type III vertex, for example, means loss mainly at the crown, while in type VII only a narrow band of hair is left at the sides and back.
That matters in practice. A small job at the temples and a large job covering the front and crown are different operations, so their photos can’t be compared. Look for the stage on the case, or estimate your own with Norwood Scale: The 7 Stages of Male Hair Loss and Grafts Needed.
Age, Hair Type and Donor Area Matter Too
Three more details separate a useful comparison from a misleading one. The first is age: hair loss usually continues, and a Frontiers in Medicine review lists failing to anticipate further hair loss among the causes of unnatural results, so a young patient’s photo has to be read with that in mind.
The second is hair type. The International Society of Hair Restoration Surgery (ISHRS) lists hair colour, the match between hair and skin colour, the thickness of individual hairs, the degree of curl and the angle of growth as traits that are unique to each patient. A result on thick, wavy hair doesn’t translate directly to fine, straight hair, and curly or afro hair has its own pattern, which is why afro cases are covered in Afro Hair Transplant Before and After: Real Results and Timeline, and brows in Eyebrow Transplant Before and After: Results, Timeline & Reviews.
The third is the donor area. A patient with plenty of donor hair is not a case like yours if your donor supply is limited, and a photo can’t tell you which one you are.
Step 2: Check That Both Photos Were Taken the Same Way
The two photos must share the same light, angle, distance, background and hair condition, otherwise you are comparing the camera, not the hair. A clinical photography guide in the International Journal of Trichology says that consistency in positioning, lighting, camera settings and background is the key to a good image series. It also advises avoiding built-in flash and sharp overhead lamps, because they whiten the area and cause reflections, especially on black hair.
The table lists the variables that change how a scalp looks, and what to look for in each.
| Variable | How it can change the picture | What to look for |
|---|---|---|
| Lighting | Flash or overhead light can whiten the scalp and add glare, so skin shows through more | Similar soft light in both photos, with no flash glare on the scalp |
| Angle and head tilt | A small change in tilt or camera height changes how much scalp shows | The same views at the same tilt: front, side at about 45 degrees, top |
| Distance | A closer camera can make hair look denser or gaps look bigger | Similar framing in both photos |
| Hair length and condition | Longer hair combed over an area covers it, while oily or wet hair clumps and reflects light | Clean, dry hair in the same style and colour in both photos |
| Editing | The ASPS notes that photos may be digitally enhanced or retouched | Natural skin and hair texture; ask for the original, unfiltered image if in doubt |
What it means in real life: a “before” shot under harsh clinic lights and an “after” in soft daylight can make a modest result look dramatic. If the two photos don’t look like they were taken on the same day with the same camera, treat the pair as an illustration, not as evidence.
Step 3: Check How Old the “After” Photo Is
The date on the “after” photo matters more than how dense it looks, because a transplant takes about a year to show its result. The NHS says new hair will usually start to appear after about 4 months, and that the full results should be seen after 10 to 18 months. The AAD says most patients see results between six and nine months after surgery, and for some it takes 12 months.
The table shows what a photo taken at each point can honestly tell you, although individual timelines can run a little earlier or later.
| Age of the “after” photo | What you will usually see | What the photo can prove |
|---|---|---|
| Days 1–14 | Redness, small scabs, grafts still in place | Almost nothing: the transplanted hairs are about to fall out |
| Weeks 2–8 | The transplanted hairs fall out (AAD: between two and eight weeks) | Nothing about the result; shedding is a normal stage |
| Month 3 | The area can look thinner than before surgery (AAD) | Nothing about failure or success; follicles are resting |
| Months 4–8 | First new hairs, still patchy and fine (NHS: new hair after about 4 months) | Direction of growth, not final density |
| Months 9–12 | Hair thickening; most patients are seeing results by now (AAD: 6–9 months, sometimes 12) | A fair first look at the result |
| Months 12–18 | Full results should be visible (NHS: 10 to 18 months) | The photo to judge density, hairline and donor area |
Photos from the first two weeks deserve the most caution. They can look dense because the grafts are still in place, but the transplanted hairs usually fall out within two to eight weeks, so a photo like this says nothing about the final result. Use month 12 as your minimum for judging density and the hairline. For the full month-by-month picture, see Hair Transplant Timeline Month by Month: Growth and Shock Loss. If a photo set doesn’t say how many months it covers, ask.
Step 4: Read the Hairline, the Crown and the Donor Area
Each part of the scalp shows a different weakness, so a set with only one angle can hide the problem. The Frontiers in Medicine review describes unnatural results as one of the most frequent aesthetic complications. It links them to poor hairline design, wrong hair angle or direction, uneven density, and a “pluggy” or tufted look caused by large multi-hair grafts at the front. It also describes over-harvesting of the donor area, which can leave a “moth-eaten” look.
Here is which view exposes which problem:
- A close-up of the front edge: shows whether the hairline is soft and irregular or a straight, drawn-on line, and whether the first row looks tufted.
- The side at about 45 degrees: shows the temple corners and whether the hairs lie flat in their natural direction.
- The top and crown: shows coverage from above, where thin areas are hardest to hide.
- The back and sides: shows whether the donor area still looks even after healing, without patches.
A set that shows only the front, with hair combed forward or the donor area out of frame, deserves a question. For what good results look like area by area, see the guide below.
Also read: Hair Transplant Results: What to Expect and When to Judge Them
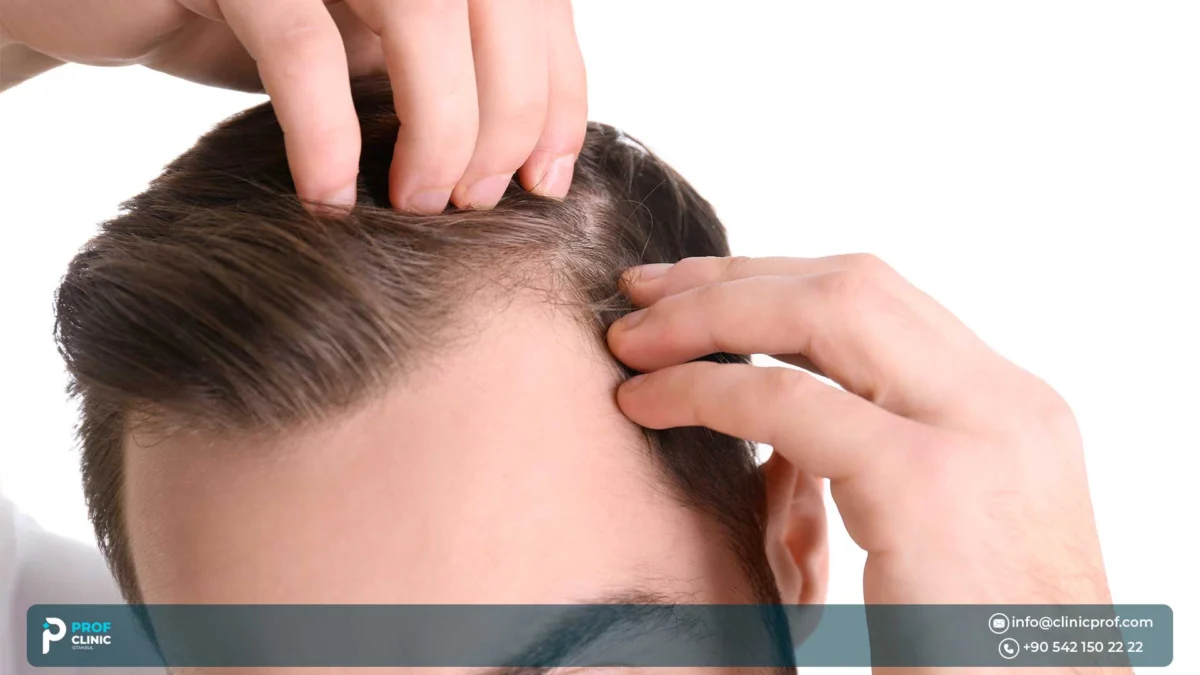
Red Flags in Hair Transplant Before and After Galleries
The clearest red flag is a gallery that shows photos without context. The ISHRS position statement on misleading and inappropriate messaging lists publishing photographs of other physicians’ patients as if they were your own among the practices it treats as misleading. It also lists wording such as “pain free” and “no risk”, and claims that promise a certain result.
Seven Red Flags Worth Pausing On
None of these proves a gallery is dishonest, but each one is a reason to ask more:
- No date: an “after” photo with no number of months since surgery.
- No case details: no age, Norwood stage, technique or graft count.
- One angle only: the front, or only the most flattering side.
- Different conditions: flash in one photo and soft light in the other, or longer hair in the “after”.
- Only perfect cases: a gallery of near-identical, flawless results with no variety in age, hair type or stage. The ASPS warns that everyone puts their best photos forward.
- Photos that may not be the clinic’s own: a quick reverse image search can show whether the same pictures appear on other websites.
- Promises instead of evidence: wording that promises a certain result, no risk or a pain-free operation.
One flag does not make a clinic bad, and a clean gallery does not make it good. Photos are one piece of evidence next to the surgeon’s role, the written plan and the aftercare. For patient stories, see Hair Transplant Reviews: How to Read Patient Stories and Spot Fake Ones.
What a Complete Case Should Tell You
A useful case gives you the details you need to compare it with your own. Ask for these with any photo, from any clinic:
- Time since surgery: the number of months between the operation and the “after” photo.
- Starting point: age and Norwood stage before surgery.
- Hair type: straight, wavy, curly or afro, and hair colour.
- Technique: FUE, DHI, Sapphire FUE or another method. FUE hair transplant before and after photos often leave this out.
- Size of the work: graft count and whether it was a first or repeat session.
- Medication: whether the person used medicine to slow further loss. The AAD says medicine can prevent or slow new hair loss and thinning, which affects how a result holds up.
- Whose patient it is: confirmation that the photos are from the clinic’s own patient.
Ready to test what you’ve learned? Open the Prof Clinic before-and-after gallery and run each case through the four steps. Note which details are missing, and ask our team about them in your consultation.
Take Your Own Baseline Photos Before You Decide
Your own “before” photos are the most useful photos in the whole process, because they are the only ones taken for your case. The trichology photography guide stresses that baseline photographs must be available at every follow-up session, and that consistency is what makes a series readable. A simple home version works like this:
- Wash and dry your hair, and keep the same style and colour for every session.
- Use soft, even light from slightly in front and above, with no flash and no lamp directly overhead.
- Stand against a plain, non-reflective background, such as a light wall.
- Fix the distance: the guide suggests 3–4 feet (about 1 metre) for medium shots, so mark a spot on the floor.
- Take the same views each time: the front, a side at about 45 degrees for the temples, the top with your head tilted back as if looking at the ceiling, and the back and sides for the donor area.
- Repeat on a fixed schedule, for example at 3, 6, 9 and 12 months, with the same setup.
Keep the files with their dates. Your own pair later answers the question no gallery can: whether your hair actually changed.
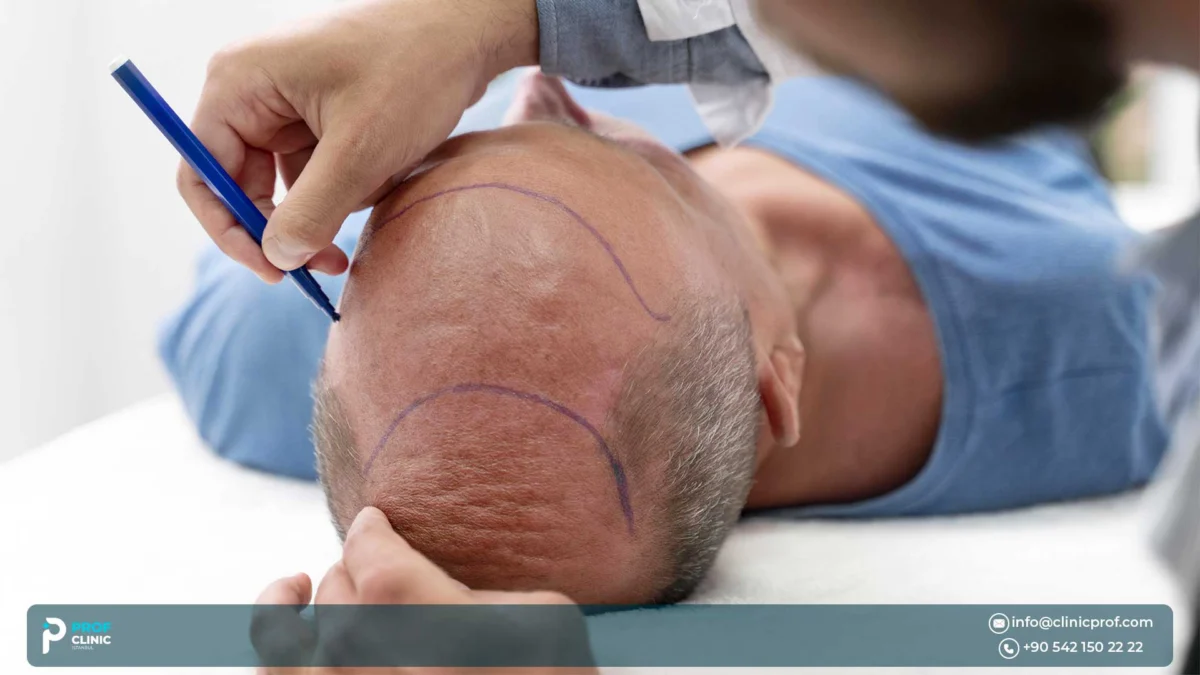
Want an assessment based on your own hair? Send clear photos of your front, top, crown and donor area to our team on WhatsApp.
Prof Clinic in Istanbul: How Photos and Expectations Fit Into Your Plan
Turkey hair transplant before and after galleries are judged by the same standards as photos from anywhere else, so what matters is how the plan is built around your own hair. At Prof Clinic, a hair transplant in Istanbul begins with your own photos and a medical assessment, and the graft number comes out of that review instead of being fixed beforehand. Spc. Dr. Lütfi Öztürk, an internal-medicine specialist, leads hair restoration: he assesses each patient medically, plans the treatment and coordinates follow-up.
Before you compare our photos with anyone else’s, these are the things you can confirm:
- Honest expectations: no gallery photo is a promise; the density you can expect is discussed with you individually, and no figure is promised in advance.
- Techniques: the choice between FUE, DHI, Sapphire FUE and Micro FUE depends on your hair and the zone being treated; for men, the options are set out on the male hair transplant in Turkey page.
- Pre-op tests: before surgery, you have a blood count, an ECG, kidney and liver function tests, electrolytes, blood sugar, and hepatitis and HIV screening.
- A written quote: it follows the team’s evaluation of your photos, and the package bundles the procedure, pre-op blood tests, medication and an aftercare kit, your hotel, and VIP airport and hotel transfers.
- Follow-up after you fly home: the coordination team stays in touch and gives advice over WhatsApp, which matters because a result is judged many months later.
Also read: FUE vs DHI vs Sapphire FUE: Which Technique Fits You?
For reference, a scalp hair transplant package in Istanbul with FUE, DHI or Sapphire is priced at roughly €1,800–€3,500. That is an approximate 2026 range rather than a final price; your own figure follows the assessment of your case and is set out in the written quote. The stay is typically 2–4 days, depending on the plan.
Ready to compare your photos with a plan? Book a free online consultation and send your photos before you travel.
Hair Transplant Before and After: Frequently Asked Questions
How long after a hair transplant should the “after” photo be taken?
At least 12 months, and ideally more. The NHS says full results should be seen after 10 to 18 months, and the AAD says most patients see results between 6 and 9 months, with some needing 12. Photos from the first weeks or months show healing and shedding, not the final result.
Are hair transplant before and after photos real?
Many are, but a photo alone can’t prove it. The ISHRS treats presenting other physicians’ patients as your own as misleading. Ask whether the person was the clinic’s own patient, how many months have passed, and what technique and graft count were used.
Can before and after photos be edited or filtered?
Yes. The ASPS notes that photos may be digitally enhanced or retouched, and that lighting, angle and pose can change how results look. Check that both photos share the same conditions, and ask to see unfiltered images from several angles if anything looks too smooth.
Which angles should a before and after photo set include?
At least the front hairline, the side at about 45 degrees for the temples, the top and crown, and the donor area at the back and sides. The trichology photography guide names frontal, temporal, mid-pattern and vertex views as the standard set for hair loss photos.
Will my result look like the photos I like?
Not necessarily. Your result depends on your stage of hair loss, donor supply, hair type and future hair loss. The ISHRS advises that your goal should not be to look like a friend or model, but to have the appearance that suits you. Ask to see cases that start from a point like yours.
Final Thoughts
Reading hair transplant before and after photos well comes down to three checks: the same conditions in both pictures, a starting point like yours, and an “after” that is at least a year old. Use photos as evidence of what is possible, then let a medical assessment of your own scalp decide what is realistic. Start with your own baseline photos, and when you’re ready, contact Prof Clinic for a written plan for a hair transplant in Turkey that starts from your hair, not from a gallery.
Sources
- American Society of Plastic Surgeons — Can you trust before and after photos?
- ISHRS — Protect Hair Loss Patients: Read the ISHRS Improper Messaging Warnings
- ISHRS — Hair Transplantation Brings Out the Best in You
- NHS — Hair transplant
- American Academy of Dermatology — A hair transplant can give you permanent, natural-looking results
- International Journal of Trichology — Clinical Photography for Trichology Practice: Tips and Tricks (Ashique & Kaliyadan, 2011)
- Journal of Cutaneous and Aesthetic Surgery — Classifications of Patterned Hair Loss: A Review (Gupta & Mysore, 2016)
- Frontiers in Medicine — Complications in Follicular Unit Excision Hair Transplantation: Current Evidence and Practical Approaches